Friday, 11 April 2014

Driving the Zero!


FINALLY! The DVLA got my documents back to me following a letter from GBS confirming the chassis was new and unused and also part of a kit. To be perfectly honest, it's come at the worst possible time. The final couple months of my final year in university at the point I should be working on my dissertation....

Despite the obvious, I should do my dissertation first thought process, I still went and got my plates made up and went straight to Tamworth to put them on the car...well the rear one at least. I can't find a suitable place to fit the front plate without blocking the radiator or risking snapping it off on the speed bump right outside the estate. Well 1 month of driving around Coventry and a trip down to Wiltshire and back and no law enforcement has said anything yet, although I have carried it with me after throwing it on the ground a bit for the "it fell off officer" speech until the sticker plate comes to fit on the top of the nosecone.


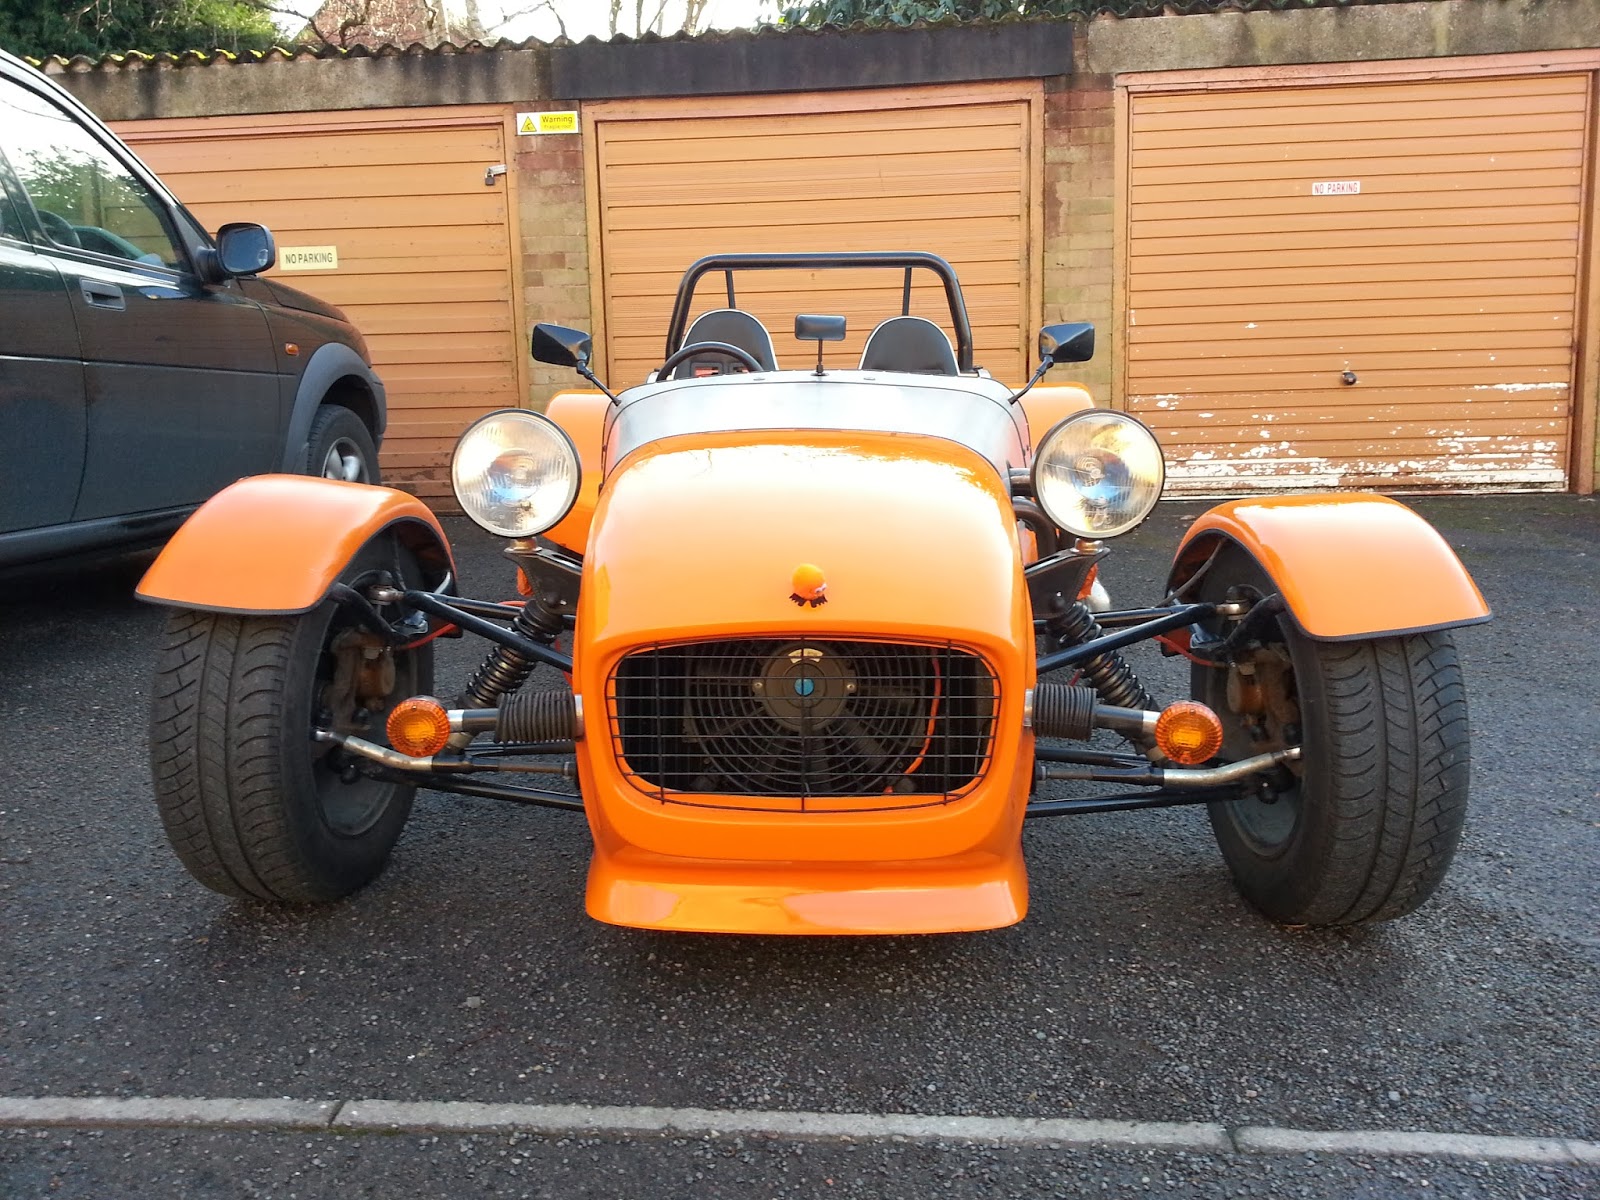
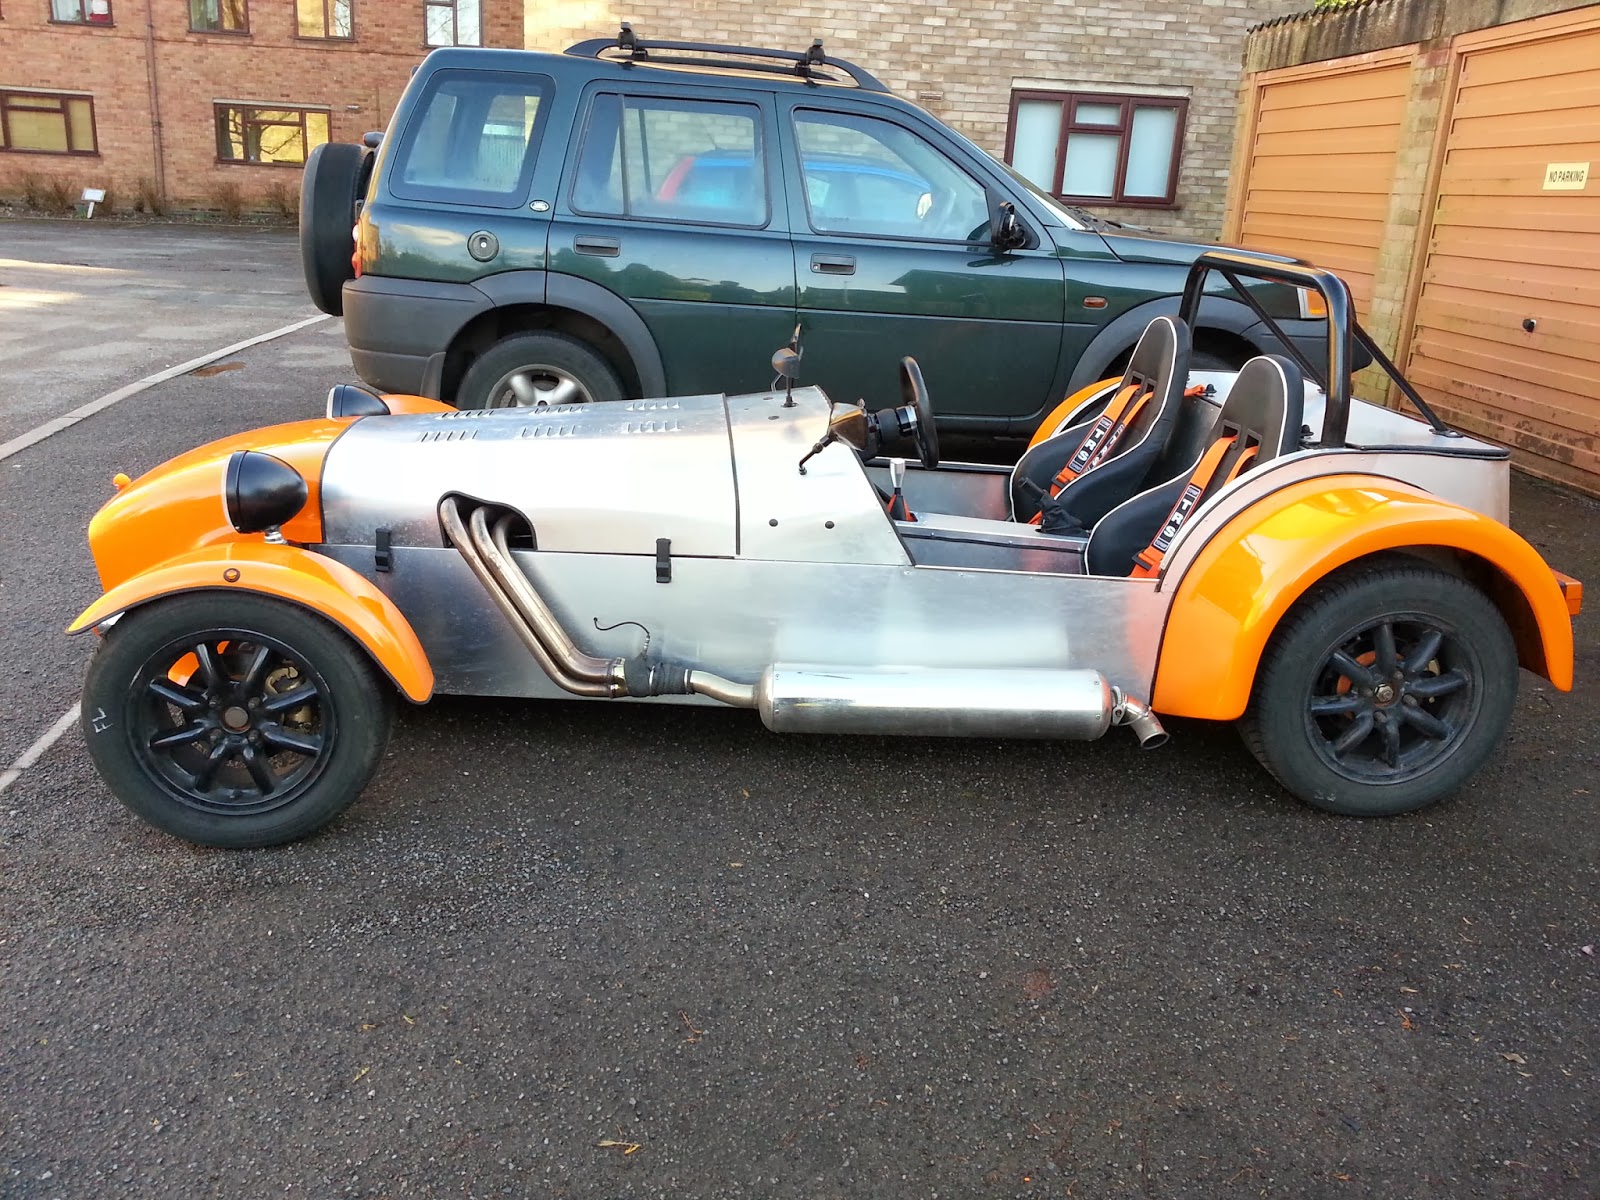
This is the time I've been waiting for since starting the build, the final, road legal, self built car. Amazing. Still can't get over that thought whilst driving. "I built this!"
Now I haven't had kids, but if you have and thinking about starting your own project, then do it, kids are overrated...and more expensive according to my parents.....
 

The car has been on the road nearly a month now. I have driven it the 100 miles down to Wiltshire to see the family and back and also between Coventry, Tamworth, around Coventry and just in general really. Without any need for a daily commute to work, and including the IVA test drives of 120miles total, I have racked up around 600-700 miles already! They sure do fly by!
So far the only problems I have had are:
  • The battery going flat - turns out there is a drain somewhere, but a master battery cut-off switch has solved this issue whilst also improving security.
  • The steering wheel came off - well I more pulled it off by trying to use it to pull myself out the car. Stupid really but lucky as there wasn't actually much thread engaged on the previous bolts! Longer bolts acquired and used!
  • Fuel....yeah I ran out. Turns out the car will pull around 20mpg when driven relatively enthusiastically everywhere. Plus keeping revs at around 3000 as it sounds better than 2000....that's now changed and actually the 1000-2000 is much more pleasant to listen to.
  • Overheating issues in traffic. Originally just driving at below 30mph would mean overheating but a coolant top up solved this major hurdle. Although sitting in traffic for a long period of time also raises the temperature a bit. May look to upgrade the fan - it was a cheap ebay purchase!
  • Rain. Problem of having a fair weather car in the UK during April shower season. Not much I can do without controlling the weather...oh wait, I can buy a half hood! Shame that costs money I don't have yet...roll on the student loan! This is going to be my next purchase as soon as possible.

Overall the experience of building and now driving the Zero has been the best ever. Even with approximately 100bhp, weighing 550kg means that there is not much below £20k that can compete off the line. The thrill of being so close to the road and the acceleration is something I've never experienced before. Nothing can give you so much fun whilst simultaneously being so incredibly scary!

Wednesday, 12 March 2014

Windscreen & Stone Guards

If you've come here looking for a comprehensive guide to fitting the windscreen, try this blog instead: http://richards-gbs-zero.blogspot.co.uk/search?q=windscreen
Richard is much better at documenting the process than me!

With the IVA certificate in my hand and the registration processing with the DVLA, my first post-IVA task was to fit a windscreen to eliminate the need for a crash helmet when driving.

I'd bought the windscreen kit from GBS and set about preparing the brackets and frame for painting black.

Fitting to the car is possible with one but easier with two people, I was by myself and no one was about to help so ratchet straps where the next best thing. There are a number of ways to do it, mainly cutting different parts of the frame, I went with the route that looked the best and with a bit of measuring, appeared to be a good fit....
I didn't have any cardboard or chipboard to practice with so was very careful with the glass. The brackets will require bending to fit, either to match the curve of the scuttle or to the frame. As you have probably seen from my previous posts, my build environment is literally a driveway or brick room, no fancy tools or tool racks here! Obviously bending with a vice would be much easier, but a wall and the back of the car worked ok to get the required bend to match the frame.

 Before this point - but without pictures, I used 2 self tapping screws to fit the bottom frame rail and top rail with a diagonal hole. This works well enough to hold the frame in one piece so it can be attached to the car like so.

Here is where the 2 hands is best. Fitting the ratchet straps and ensuring a straight fit of the screen was a difficult process running either side of the car, making an adjustment, going to the other side finding that the previous adjustment is gone and so on.


 Anyway I got there and the screen looks to be in a reasonable position. Here you can see the long over cut of the T-trim. KEEP THIS LONG AND PUT IT INTO AND UNDER THE BRACKET!!!


Otherwise this will happen! Duh.
This can be also by cutting the frame the other way so that the top frame rail sits on the lower. Hindsight is great isn't it?!


Overall the main objective was to fit a windscreen, difficult to get right on your own and kind of important when it will soon be the only thing in front of your face. Self tappers into the frame through the bracket (I went with 4 either side - careful when drilling with the glass in, its very easy to crack it (so I've seen/heard, I can at least get one thing right!)


I wasn't overly happy with the screen but since doing this and writing this up, I have gone back and just touched it up a bit, improving it a bit more to my likening....although without testing it properly yet until my registration comes through, we will see how it goes.
To update, I have had the registration through and the screen is secure on the bumpy roads and "speed capabilities of the car", if you know what I mean! Perfect.
 
 
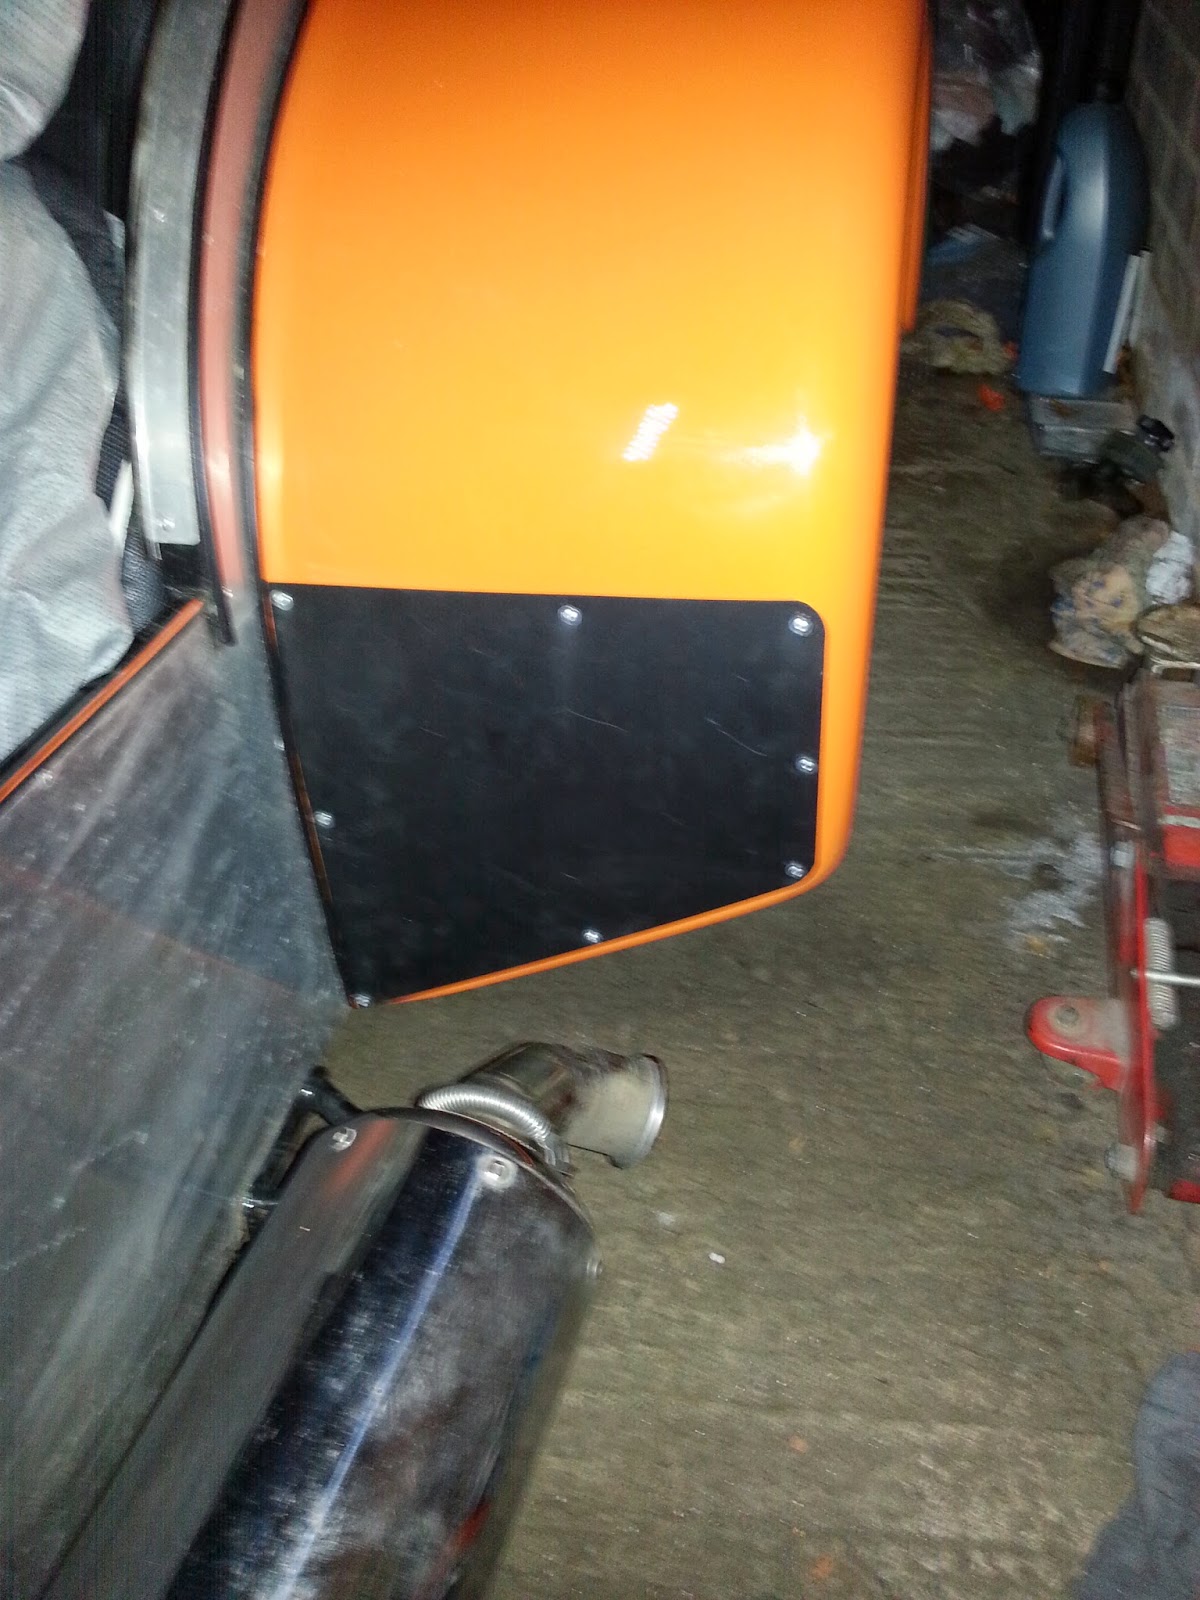
The other part of the first post-IVA plan was the stone guards on the rear arches. Some people claim these have failed on a sharp edge, which they will if not perfectly bent to fit the arches. Something simple and makes me feel much more confident about the life of the arches. Also, I think its a nice finish on the arches too, but that's just me.
Update again, they are a great saver. The amount of times I've heard them working, ping, ping ping, the stones aren't damaging the GRP in a hurry!
 

Tuesday, 11 February 2014

IVA - Take 2

It has taken a bit longer that expected but I finally managed to juggle my university work and sorting the car out to prepare for the final IVA test. The problem was being 30mins away from the car is finding the time and motivation to get over and do the work, some of which was quite daunting in the sense of not knowing if the huge task would even do anything to solve the problem, specifically the self centring issue. Whilst many had said that castor was the problem, the only explanation was that the front wishbones were on wrong....but that would be a massive task and from memory, they only went on one way. CHECK THEY DON'T FIT BOTH WAYS AT THE FIRST STAGE!!!Anyway, I also found that with toe out, rear wheel drive cars will benefit by gaining self centring, which seemed to be wrong due to the wheels looking to be having a lot already...however, getting hold of some gauges I found that it was actually 2 degrees toe in! So with a bit of toe out...it worked! to the extent of having a bit anyway.

Now, on to the test! This was booked for February 11th, 13:00 this time, I didn't fancy another 6am start. This proved to be a great choice as the forecast was meant for heavy rain in the morning and should pass before I planned to head out....how wrong was that! Whilst it did just about stop by the time I planned to leave, the weather had changed from heavy rain to a blizzard! It was so thick and despite being wet, still managed to stick in places! So much that I nearly gave the test centre a call to see what the process was for cancelling on the day due to weather! However, as it started to ease off I decided to crack on anyway, I wanted this car to pass so probably would have driven in the snow!

I got to the test centre again with about half an hour to spare and a soaked right elbow. Post IVA trim will be some extended flaps on the front wheels to reduce the spray from any puddles! Despite that it was a joyful drive with no issues at all. Couldn't have gone better. However, things couldn't go right the whole time....Roy came out to start the test at 1, asked me to bring the car into the IVA lane, "Sure, no problem!" oh wait....the battery was flat....no lights left on, nothing left to drain the battery, but something had. The car had been stood without a proper run for a few weeks but still started up first time and drove without any issues. This puzzled me and Roy and didn't look good for the retest. Roy grabbed a battery booster and jump started the car. This was left running for the whole test and only turned it off at the end of the test.
With a short list, we flew through in an hour and all the bits I could fix, were fine...not pretty in places, but fine. Then onto the two things I knew I would struggle with. The brake test and self centring. Up first was the brake test. NOTE: this is done on your stated maximum weight, I wasn't sure so had used the Mazda MX5 details....1200kg....that's twice the weight of the car! So ensure you chose wisely! Probably would have passed first time using a weight of 800kg instead!
Anyway, it was right on the limits and Roy accepted these as they would only get better as the pads bedded in more.
Finally the self centring. I was never sure how exactly this was assessed but for those like me who don't know, the examiner will simply take your car around the site, turn hard on the wheel then let go at around 15mph. It is then up to the examiner to determine if there is self centring or not. I had a tiny amount bringing it about half a turn from centre both sides so Roy was happy with it. He stated he'd seen better but had also passed worse and agreed that a full geometry set up post IVA will help greatly and once the new parts loosen off a bit more with use. As a result, this was a big tick on the sheet!

So, for those of you keeping score, that was all the previous fail points passed. Which means.......

THE CAR HAS PASSED IT'S IVA TEST!!!!!

After 12 months of building, an actual, road legal car is finally the end product! 18months ago I never thought this would happen, hadn't even crossed my mind, however it has and I succeeded! Even my own mother had doubts and expected me to give up when she found out about my plans!!!

Now begins the DVLA paperwork challenge....

Thanks for reading and I hope you have found this blog useful. I must admit it's been nice to write and hopefully it has proved to be helpful in your build or interest. Enjoy some pictures below!


Stay tuned for further updates to post-IVA work and anything else I feel like putting on here.
As always, if you have any questions, don't hesitate to comment or email me on:

 
I'm always happy to help and answer any questions you may have. Thanks again for following!

Tuesday, 31 December 2013

IVA Attempt No.1

 After an approximate 9 months build of which delays and hold ups frequented, the build is complete.....well, almost. I had a few things I wanted to sort out, most importantly the steering column which was still very close to the alternator, should be a quick rearranging, nothing too major....

Yeah....not the best thing to be doing less that 12 hours before I'm due to leave!
Other things I wanted to do too, was fitting some carpet. Gives a nice look, especially as it's only a £1 pack from Poundland!

 Back to the main part, the steering column was adjusted by rotating by rack so that the column came down at a steeper angle, giving more room from the alternator. Problem solved...until I realised the next day my degree of self centring had also disappeared.


During all this last minute fiddling and fitting, I was accompanied by a new friend...who almost got thrown across the car park.....the cheek of him!


Well, on Thursday 12th last week, my Zero MX went for its, and mine, first IVA attempt. Because of this, I was not expecting to pass due to little things such as sharp edges or potential chaffing on areas I had missed. Little things really. Since booking the test though, I have been more excited than anything and when seeing my Dad the night before, compared me to a 5 year old at Christmas – something of an understatement in my opinion!
Anyway, after deciding that I was going to drive to the test (no brainer really) I set off at 6am for an 8am test – google estimated a 40-odd minute journey! This gave me plenty of time for any problems to surface and still have a chance to get to the IVA on time. After all, this was the first time it would be properly run and something may come loose or go wrong. I had a strong belief in my build though so was very confident about making it.


All set, helmet on! Lets go!


Quick stop off for petrol, only ever had a couple of cans full so this was a test of the fuel tank fittings. Looked good and sealed, happy days!


Well, first problems I encountered was my speedo not having a back light….strange, but easy fix using alternative methods. Secondly, my fuel gauge would only read up ¾ full on a full tank, might just need the needle “adjusting” we’ll see afterwards. So two problems without even leaving Tamworth…..but who cared? I’d waited so long to drive the car, nothing was going to put me off, not even the cold!

Straight away, the noise, the responsiveness and acceleration of the car eliminated any worries, stress nerves or anything, it was an absolute pleasure to drive and such a fantastic experience, especially as I’d built it myself! I was loving every second of driving the car. At about half way to Derby though, I came off the dual carriageway to find that my gear selections were not working properly, the clutch needed depressing further it felt, a problem I thought I’d fixed earlier in the build…either way, I pulled over, extended the pushrod to its maximum length –not much but enough to carry on. Note to self, longer push rod required. Later on I thought about getting a return spring as the piston isn’t returning fully maybe causing a problem too. Again, easy fix.


Other than that, I made it to Derby IVA station with 30mins to spare and a great big grin. No other feeling is like that, easily the best experience of my life!


I met Roy at Derby for the test, a friendly chap, definitely made the experience more relaxing! And we began at 8am. To cut a long story short, the car did fail on a number of trim items, wiring supports, no speedo back light and anti-slip on the pedals. These were the expected items I knew I’d probably miss anyway, so no worries, easy things to fix……not so easy and unexpected is the steering self-centring, headlights (GBS provided lights, have the keys in the cowling and headlight to line up, however, these are not in the correct place and cause the pattern to be wrong! Should be able to adjust round to ensure correct pattern), and finally brake efficiency/effectiveness. Handbrake passed no problem, however foot brake needs a minimum 60%, I was getting 44%. However, new pads so these just need to be settled in – another excuse to drive the car.

Overall, the car was looking good to drive home, Roy seemed happy with the build and believed it would be safe to get home. Last thing required was the noise test….Roy took the car around the site to check for self-centring and try warm the brakes up a bit for a re-run of the brake test after we did the noise. He parked it up, left the car idling, fetched the machine then asked me to jump in and hold the revs at 4,200…..uh-oh…the car began to cough and splutter, returning to a rough idle, tried an Italian tune up and red lined the engine, back down, nope it got worse eventually cutting out at idle. Very confusing. The car appeared to be over-fuelling. Needless to say I was baffled and so was Roy, especially after how well it had got to the test and continued to be fine up until the very last part of the test! How gutting. Even gutting couldn’t describe the feeling, knowing it would be trailered home, I was distraught.

We pushed the car back inside and went off to complete the paperwork. I had to wait for my Dad to get back up from work so spent a bit of time trying to figure out if I could get the car working. I was determined to drive it home. The fail didn’t ruin my mood, but this would…..a bit of searching, checking the Lambda sensor wiring and fitment, no problems obvious, I thought coil-pack/spark plugs, but had nothing to replace them with if I realised it was them, even looked for vacuum leaks but everything seemed to be in the place it should be…..except one thing….a bolt…one single bolt that by coming loose, was causing the issue. Not something you’d expect to cause that, however, when it is acting as an earth point, big problem. So, the bolt was retightened to the point of nearly stripping the threads – this was not going to cause me a problem on the way home. Fired the Zero MX up and it was puuurrrfect. Back to normal. I was a very happy bunny again! Driving home was back on the table!!!

The drive home went without any issues, it was an absolute joy to drive and turned many heads. I was loving the drive, even contemplated missing a few turnings to prolong the experience. Nonetheless, every problem I have ever had with it, all the long cold hours in the garage and sweltering summer days too, none of that mattered, the drive was worth every single moment. I haven’t driven it in 3 days and already have withdrawal symptoms, shame Christmas and Uni coursework is getting in the way but priorities first. My next IVA will be sometime in the back end of January, the suspense and excitement is killing me, but in about 1-2 months, I will hopefully be in the position of being able to drive it whenever I want, and that thought is the only thing keeping me sane and partially focused on my work at the moment…..


Monday, 28 October 2013

Car Completed....For First IVA Attempt

Well many thought it wouldn't happen, but GBS FINALLY got the handbrake cables to me! After waiting since June and hearing a number of conflicting reasons why it was getting delayed, it got there 4 months later.

With that sorted, it was a weekend spent with the car, fitting the handbrake, boot inner panels and boot cover, sheet aluminium for IVA purposes - if you can't remove the cover, it can't be tested for sharp edges which it would fail on. The handbrake and cables were straight forward to fit and easier not using the predetermined slots by the wishbones, obviously from the Ford based kit and not changed for the Mazda. These just cause the angles to be wrong and runs the risk of getting caught or rubbing on the driveshafts. Anyway, handbrake on, dash light on, good strong shove on the car and not a single bit of movement. Sorted.

Boot panels were a little more tricky as none appear to fit properly, however, they are in and will be carpeted over anyway once I get onto that stage, making it look more tidy, just like the rest of the car without the worry of IVA regulations.
My make shift boot cover does however look very nice. Much nicer than I was expecting.

Overall, from starting the build in March, I have gotten to an IVA ready stage in just 7 months. When I first started out and stated my ambitions of having it done before starting university again in September/October, I was told I was looking at a minimum of 12 months if I was balancing my work placement at the same time. Well, it's been 9 months from picking my kit up, 7 from actually being able to start it, and probably would have been done in under 6 months if all the parts could have been delivered on time. Not a bad effort I'd say. Either way, I just want to get this beauty out on the road and enjoying my hard work and time.

Enjoy the photos below!


Kit Ordered  > November 2012
Kit Collection  > January 2013
Build Start  > March 2013
Ready for IVA  > October 2013
IVA Pass  > ??????? Watch this space.